
Key Takeaways
- Braising is a forgiving, two-step technique that transforms tough, inexpensive cuts into tender, flavorful meals by combining high-heat searing with slow cooking in liquid.
- The process works because low, steady heat breaks down collagen into gelatin, creating a moist, fall-apart texture and a rich, sauce-worthy braising liquid.
- Successful braising requires minimal equipment, just a heavy, oven-safe pot with a tight-fitting lid that delivers even heat and retains moisture.
- With a simple step-by-step approach, home cooks can confidently braise a wide range of proteins, from beef short ribs and pork shoulder to quick-cooking chicken thighs.
Braising takes tough, inexpensive cuts to fall-apart-tender meals with deep, rich flavor. Home cooks often assume braising is complex or requires professional equipment, but it's actually one of the most forgiving techniques.
It’s a cooking method that combines dry and moist heat: sear the meat first, then cook it slowly in liquid. This guide covers what braising is, how the technique works, step-by-step instructions, and examples with beef short ribs, pork shoulder, and chicken thighs.
What Is Braising and Why It Works
Braising is a two-step cooking method. First, you sear at high heat to develop flavor, then you cook low and slow in liquid to break down tough connective tissue. Braising has been around for a long time, and was an excellent cooking method before the invention of ovens.
The pre-searing creates a flavorful crust through caramelization, while the braising liquid absorbs those flavors and becomes a rich sauce. The best cuts for braising are tougher with more connective tissue, since these proteins benefit most from slow cooking. Cuts like:
- Chuck roast
- Brisket
- Short ribs
- Pork shoulder
- Neck roast
- Chicken thighs
- Lamb shanks
These cuts have plenty of connective tissue and collagen, which breaks down into gelatin when cooked slowly in moisture. This gelatin can hold five to 10 times its weight in water, creating that melt-in-your-mouth texture.
The low cooking temperature, around 300-325°F, allows collagen to gradually transform into gelatin without drying out the meat. This process takes time and is very forgiving. It’s difficult to overcook braised meat.
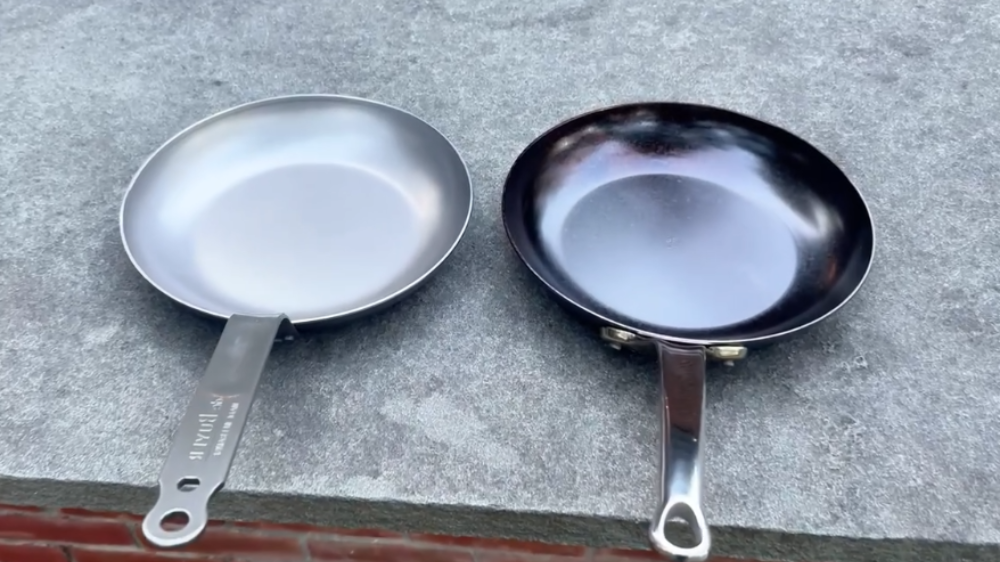
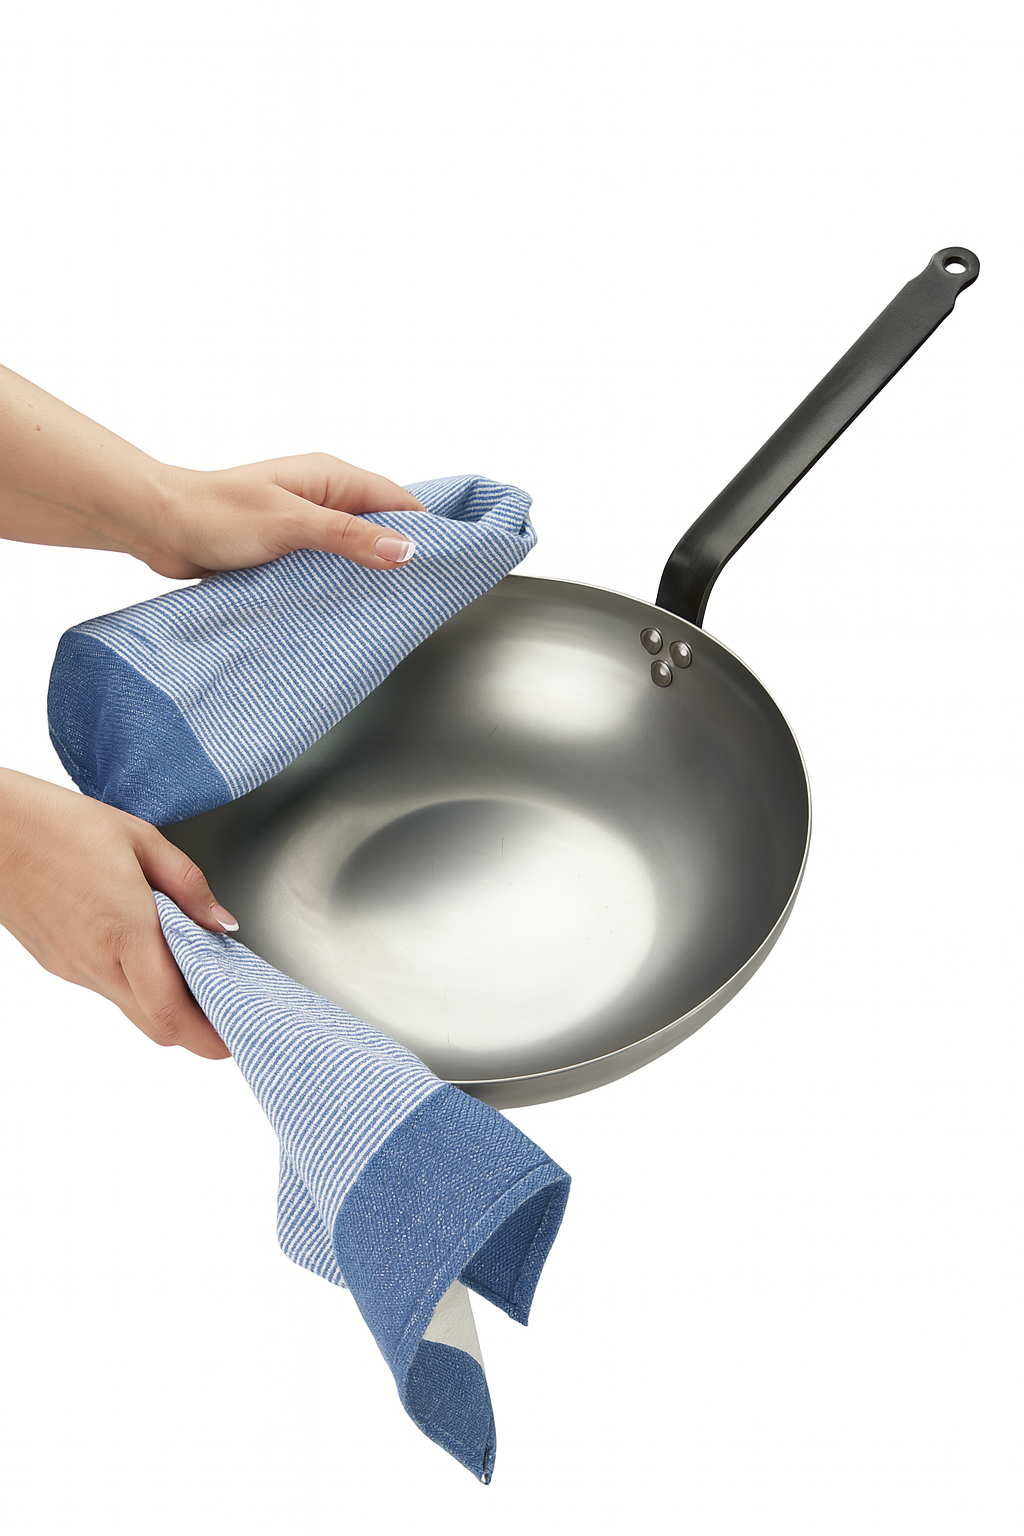
Essential Equipment for Braising
You don’t need specialized equipment beyond a good braising pan and tongs. Pressure cookers and slow cookers can be used for braising, but they’re not required. You need a heavy-bottomed pot with a tight-fitting lid that can go from stovetop to oven. Look for:
- Heavy construction for even heat distribution (prevents hot spots that can scorch)
- Wide, shallow shape for maximum surface area when searing
- Oven-safe to at least 350°F
- Tight-fitting lid to trap moisture
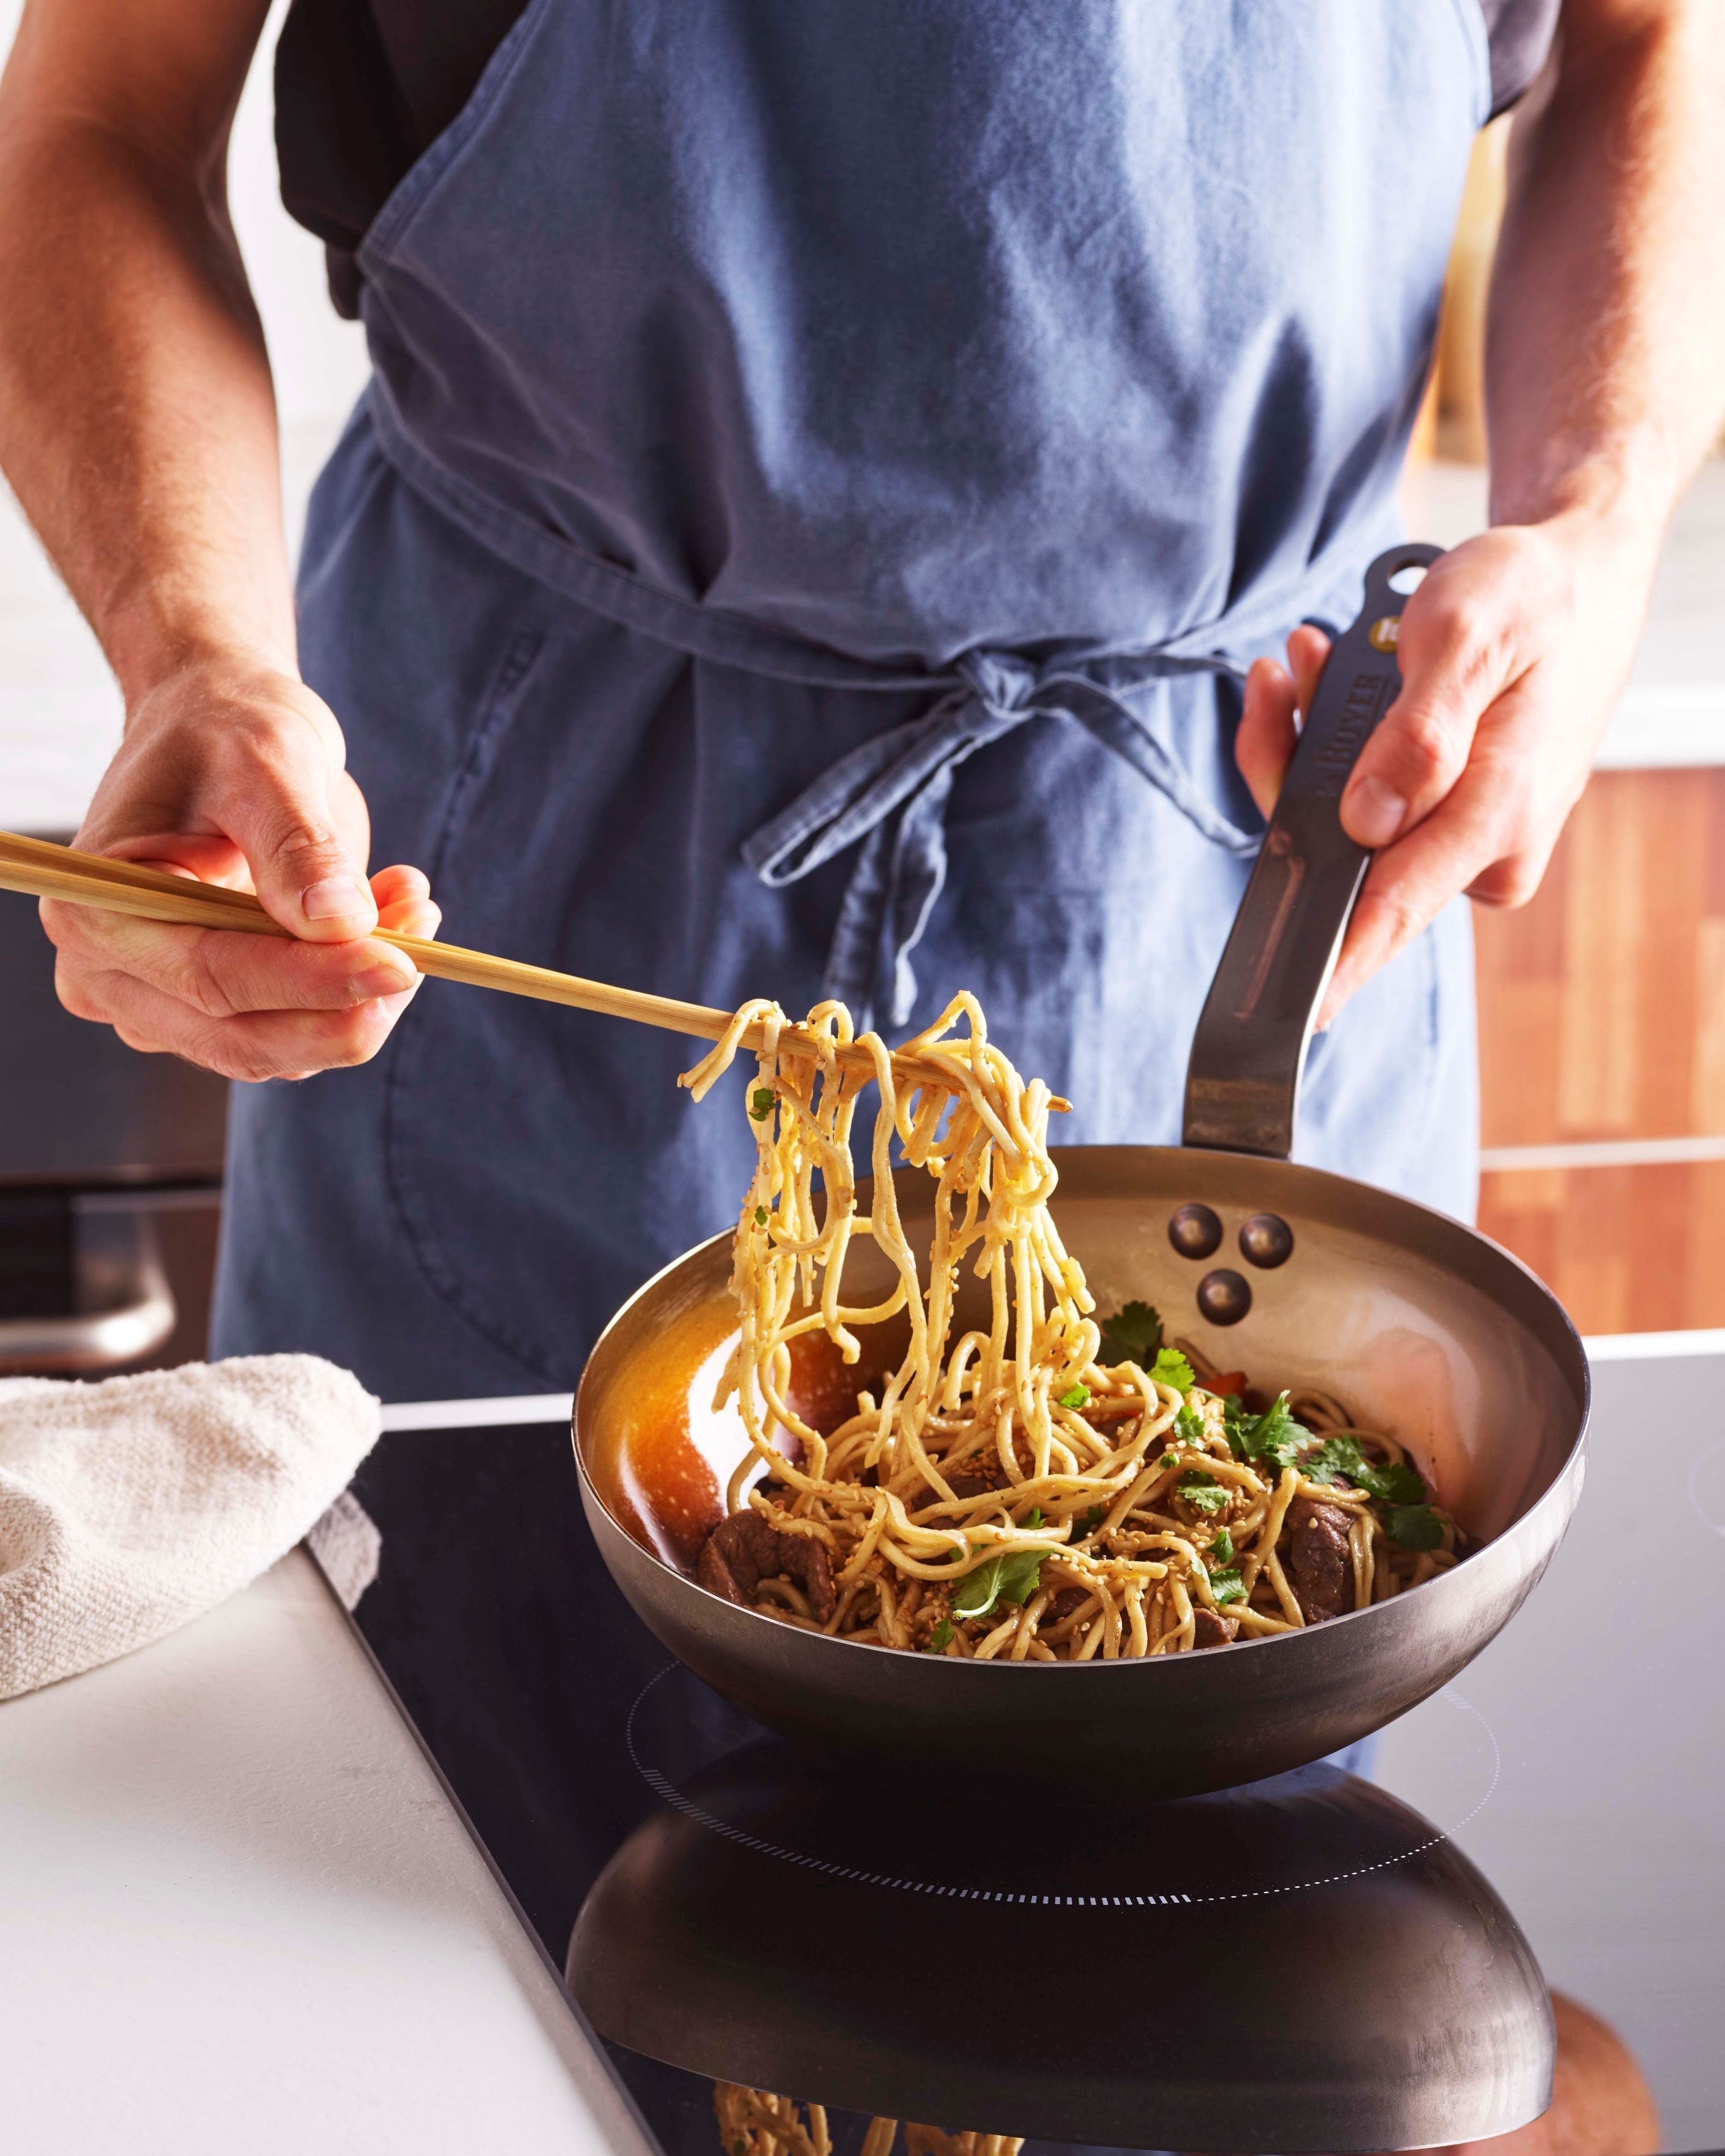
Cast iron, stainless steel, and copper all excel at braising. These materials retain heat well and distribute it evenly. French-made braising pans like de Buyer's Affinity stainless steel and Prima Matera copper braisers are designed specifically for this technique, with the heat retention and even distribution that make braising foolproof.
How to Braise Meat: Step-by-Step Technique
The braising process is straightforward, but for first-time braisers, it’s normal to be apprehensive. Review these steps carefully, and you’ll be fine.
Step 1: Prepare and Season the Meat
- Moisture prevents browning, so pat meat completely dry with paper towels
- Season generously with salt and pepper on all sides
- While you preheat your oven, let the meat come to room temperature, ensuring an even sear
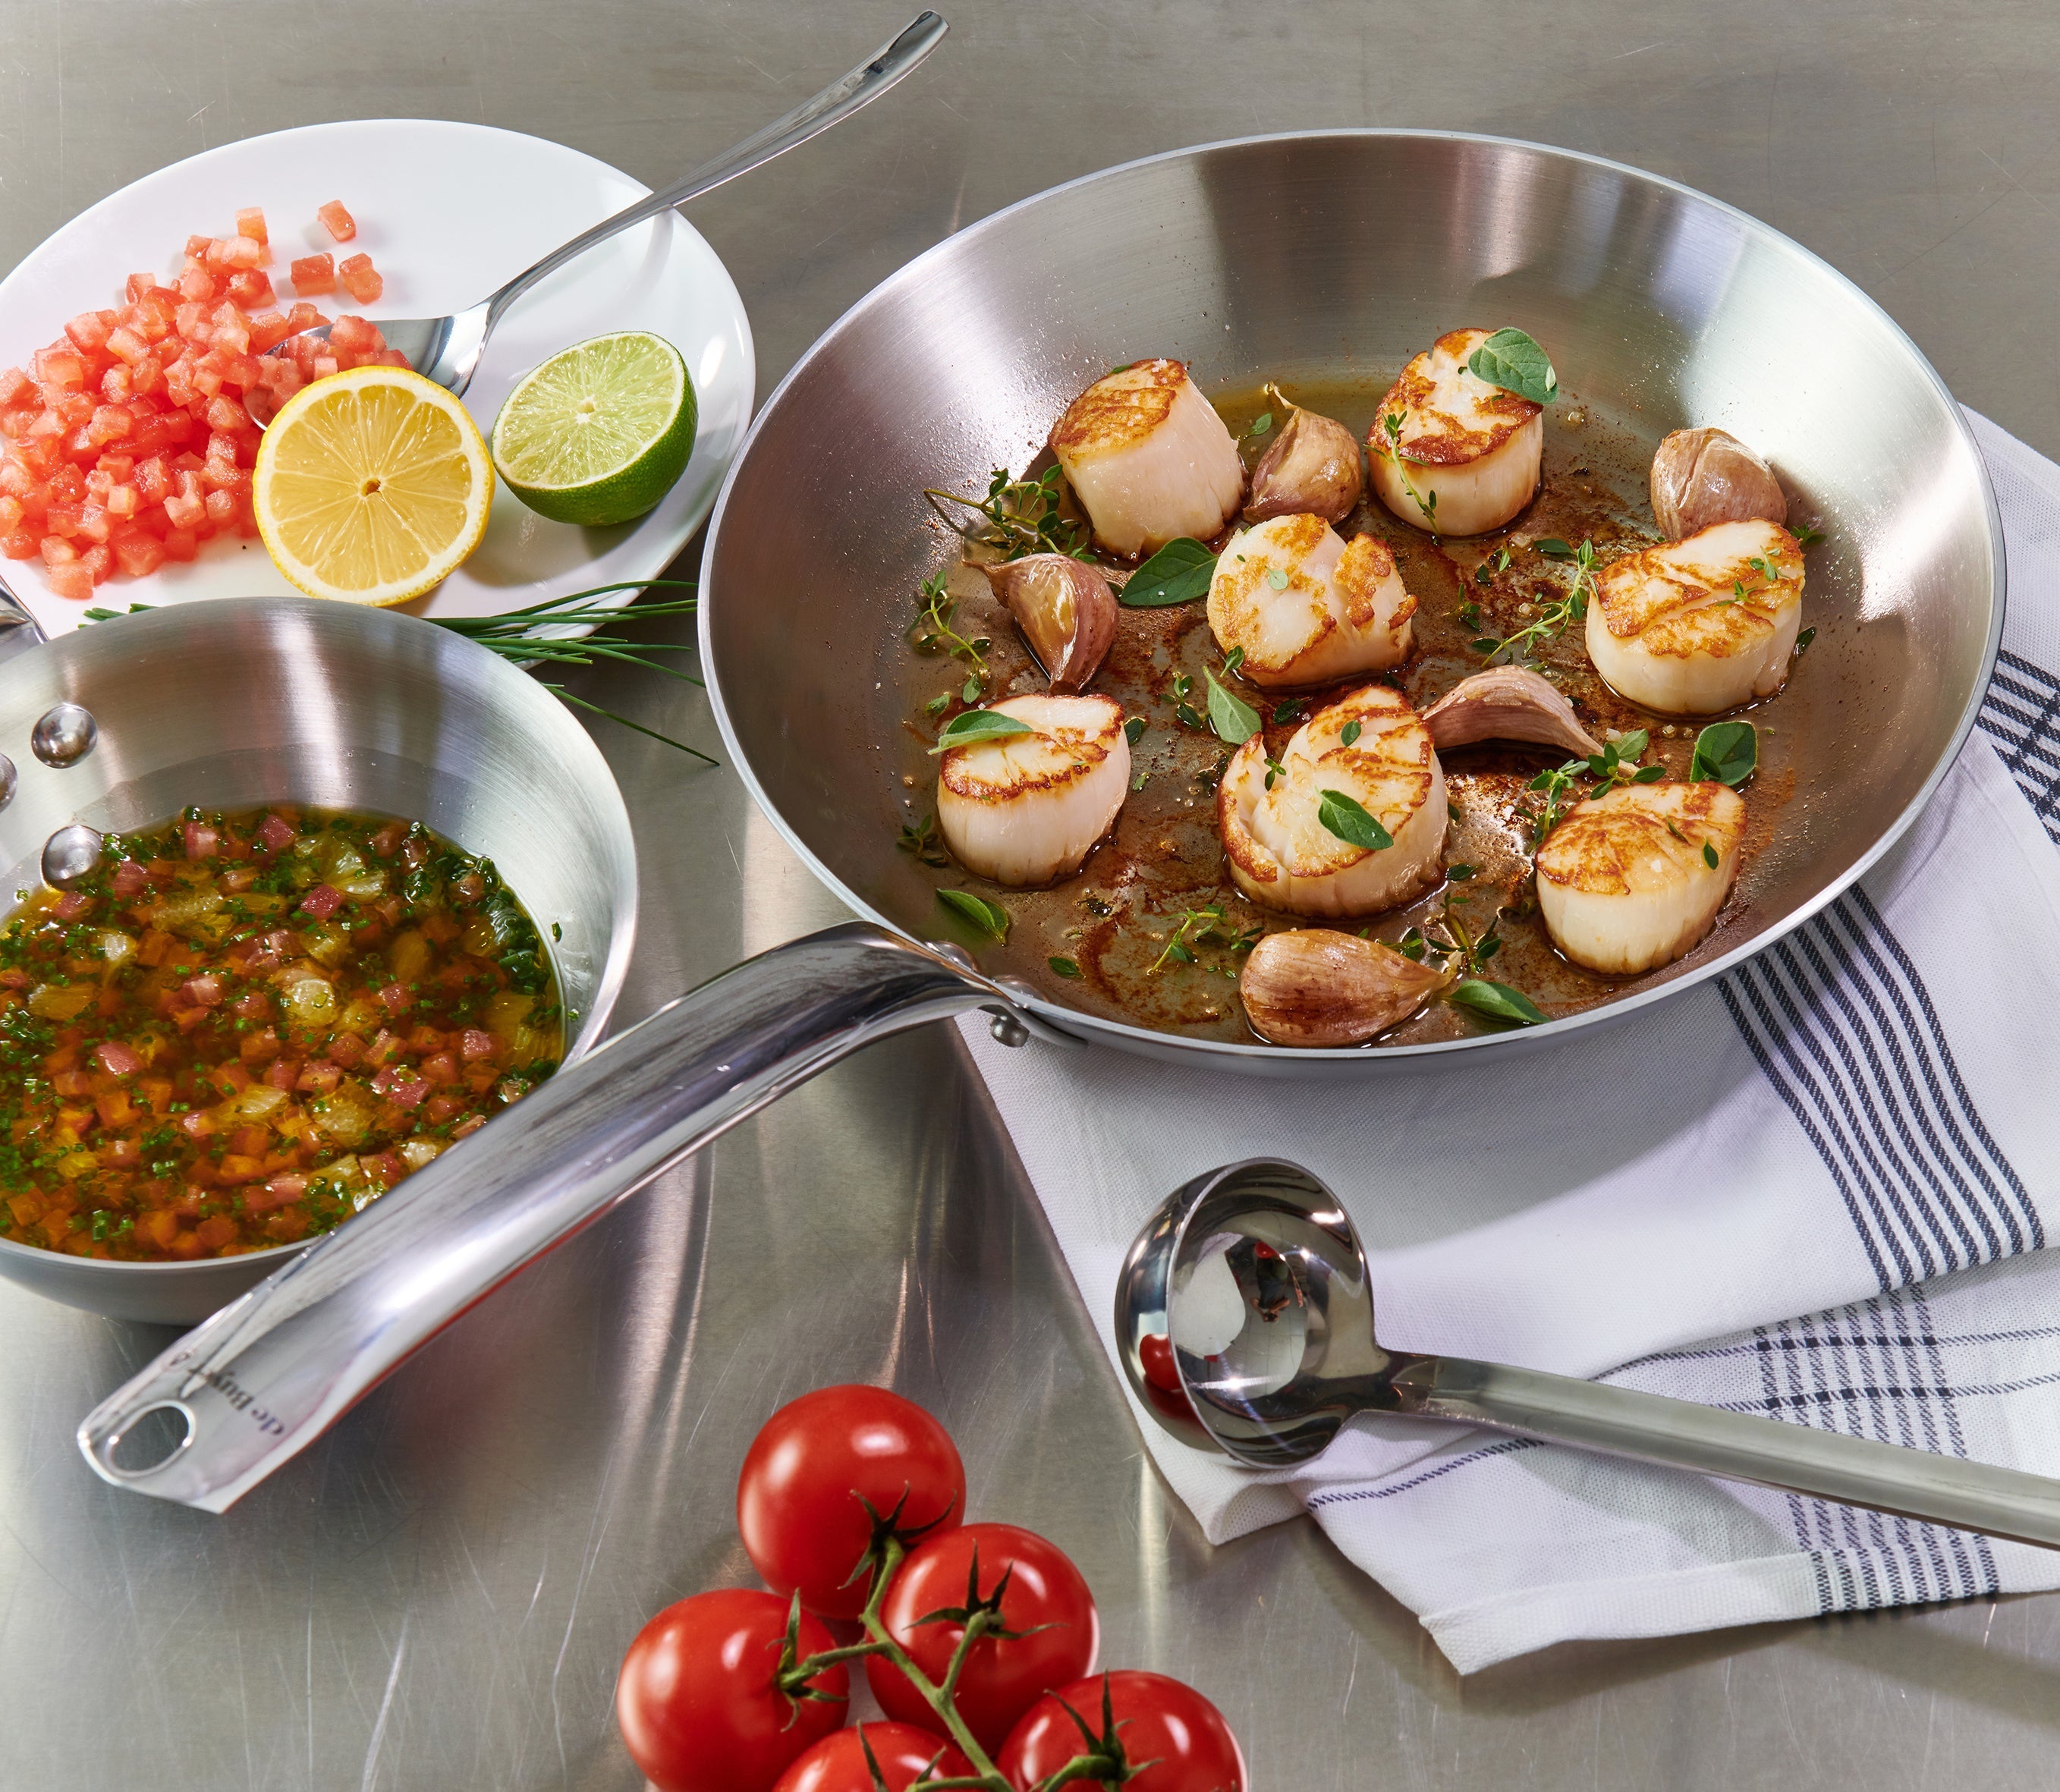
Step 2: Sear the Meat
This is where much of the flavor comes from, so don't rush this step; resist the urge to flip too early.
- Heat the braising pan over medium-high heat with a thin layer of oil
- Once oil shimmers, add meat—don't crowd the pan. You may need to work in batches.
- Sear each side until deeply browned, 3 to 4 minutes per side
- You’re looking for a rich, caramelized crust
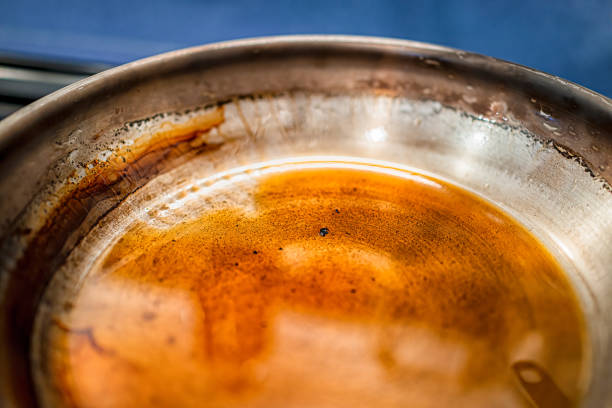
Step 3: Build the Braising Liquid
Some common braising liquids include beef, vegetable, or chicken stock, red or white wine, and beer.
- Remove meat and set aside
- Add aromatics to the pan (onions, garlic, carrots, celery) and cook until softened and slightly browned
- Deglaze the pan with wine, broth, or other liquid and scrape up the browned bits (called fond) stuck to the bottom
- Add in the meat and remaining liquid. The liquid should come about halfway up the meat, not covering it completely
Step 4: Braise Low and Slow
- Bring liquid to a gentle simmer on the stovetop
- Cover tightly with a lid and transfer to a 300-325°F oven, or you can maintain a very low simmer on the stovetop, but this requires more attention
- Cook until meat is fork-tender: 2-3 hours for most cuts, 3-4+ hours for larger cuts
- Check and rotate the meat occasionally. The liquid should barely bubble, not boil aggressively
Step 5: Rest and Serve
Congratulations, you have successfully braised.
- Remove meat from liquid and let rest 10-15 minutes
- Strain braising liquid if desired, skim fat from the surface
- Reduce the liquid on the stovetop for a thicker sauce
- Slice or shred the meat and serve it with the braising liquid as sauce
Braising Different Cuts: What Works Best
Try out these different cuts to perfect your braising technique.
Beef Short Ribs
The high fat content means short ribs are nearly impossible to overcook, and they develop incredible flavor.
- Technique: Dredge in flour (will create a thicker sauce) before searing on all sides until deeply browned, then brown onions and carrots, finally braise ribs in red wine and beef broth, with fresh thyme
- Time: 2.5-3+ hours at 325°F until meat pulls away from bone
- Result: Fall-off-the-bone tender with a rich, glossy sauce
- Serving suggestion: Serve over mashed potatoes or creamy polenta to soak up the sauce
Pork Shoulder
Pork shoulder is inexpensive, forgiving, and shreds beautifully. It works well in tacos, sandwiches, or just served with vegetables.
- Technique: Sear whole shoulder or large chunks, braise in chicken broth with garlic, cumin, and citrus (or beer and BBQ spices for pulled pork)
- Time: 3-4+ hours at 275°F until meat shreds easily with a fork
- Result: Tender, juicy meat that absorbs the flavors of the braising liquid
- Serving suggestion: Shred and use for carnitas tacos, pulled pork sandwiches, or serve over rice
Chicken Thighs
Chicken thighs are a quick-braising option, around an 1 hour, and stay moist thanks to higher fat content than breasts.
- Technique: Sear thighs skin-side down until crispy, braise in white wine or chicken broth with mushrooms, garlic, and herbs
- Time: 45 minutes to 1 hour at 325°F until the meat is tender and pulls easily from the bone
- Result: Crispy skin (if you finish under the broiler), tender meat, flavorful pan sauce
- Serving suggestion: Serve with crusty bread to mop up the sauce, or over egg noodles
Troubleshooting Common Braising Problems
Braising may require some trial and error, especially as you practice with different cuts. Don’t be discouraged if the recipe doesn’t go perfectly the first time. Use these tips to improve.
-
Meat is dry or tough
- Cause: Braising temperature was too high, causing liquid to boil rather than simmer
- Fix: Keep the oven at 275-325°F or less (unless you’re cooking smaller cuts). The liquid should barely bubble
-
Not enough flavor in the sauce
- Cause: Skipped the searing step or didn't deglaze properly
- Fix: Always sear meat thoroughly and scrape up browned bits when building liquid
-
The sauce is too thin
- Cause: Too much liquid added initially
- Fix: Remove meat when done, reduce the sauce on the stovetop until thickened to the desired consistency. This may take 30 minutes or more.
-
Meat isn't tender
- Cause: Didn't cook long enough. Braising takes time
- Fix: Be patient; continue cooking until the meat is fork-tender, even if it takes longer than expected. You can calculate cook time based on weight and protein. Larger cuts will require a longer cook time.
Master the Technique, Enjoy the Results
Braising is a technique that rewards patience and builds confidence in the kitchen. It requires minimal active cooking time, and your oven does most of the work. Start with one of the examples above. Beef short ribs are the most forgiving for beginners.
Once you understand the basics, you can braise almost any tough cut of meat with any flavor profile. Quality cookware makes a difference. A well-made braising pan with even heat distribution ensures consistent results every time.
Ready to master braising? Explore de Buyer's collection of French-made braising pans and cookware designed to deliver restaurant-quality results in your home kitchen.


Recommended for You
-
MINERAL B PRO Carbon Steel Fry Pan
8"
9.5"
11"
12.5"
$110.00 - $175.00Regular price $110.00Regular priceUnit price per$0.00Sale price $110.00 -
MINERAL B Classic Carbon Steel Fry Pan
8"
9.5"
10.25"
11"
12.5"
14"
$75.00 - $165.00Regular price $75.00Regular priceUnit price per -
MINERAL B PRO Carbon Steel Omelette Pan
9.5"
11"
$130.00 - $145.00Regular price $130.00Regular priceUnit price per -
Protective Sleeve for Pan Handle
Default Title
$12.50 USDRegular price $12.50Regular priceUnit price per -
Blue Carbon Steel Fry Pan
8"
9.5"
10.25"
11"
12.5"
$60.00 - $95.00Regular price $60.00Regular priceUnit price per -
MINERAL B Carbon Steel Omelette Pan
8"
9.5"
11"
$85.00 - $120.00Regular price $85.00Regular priceUnit price per -
MINERAL B Carbon Steel Crepe & Tortilla Pan
9.5"
10.25"
12"
$75.00 - $100.00Regular price $75.00Regular priceUnit price per -
Blue Carbon Steel Crepe & Tortilla Pan
7"
8"
9.5"
$30.00 - $50.00Regular price $30.00Regular priceUnit price per -
MINERAL B Carbon Steel Egg & Pancake Pan
4.75"
5.5"
$50.00 - $60.00Regular price $50.00Regular priceUnit price per -
MINERAL B Carbon Steel Country Fry Pan
9.5"
11"
12.5"
$125.00 - $185.00Regular price $125.00Regular priceUnit price per -
B BOIS Crepe Spatula
Default Title
$10.00 USDRegular price $10.00Regular priceUnit price per -
 Sold out
Blue Carbon Steel Baking Sheet
15.75" X 11.8"
23.6" X 15.75"
$45.00 - $55.00Regular price $45.00Regular priceUnit price per


