Hi, I’m Rex from de Buyer USA. One of the most common questions I get asked is, “How do I season my carbon steel pan?” There are several ways to do it, but my personal favorite is outside on my outdoor burner. It’s fast, effective, and the results speak for themselves. |
 |
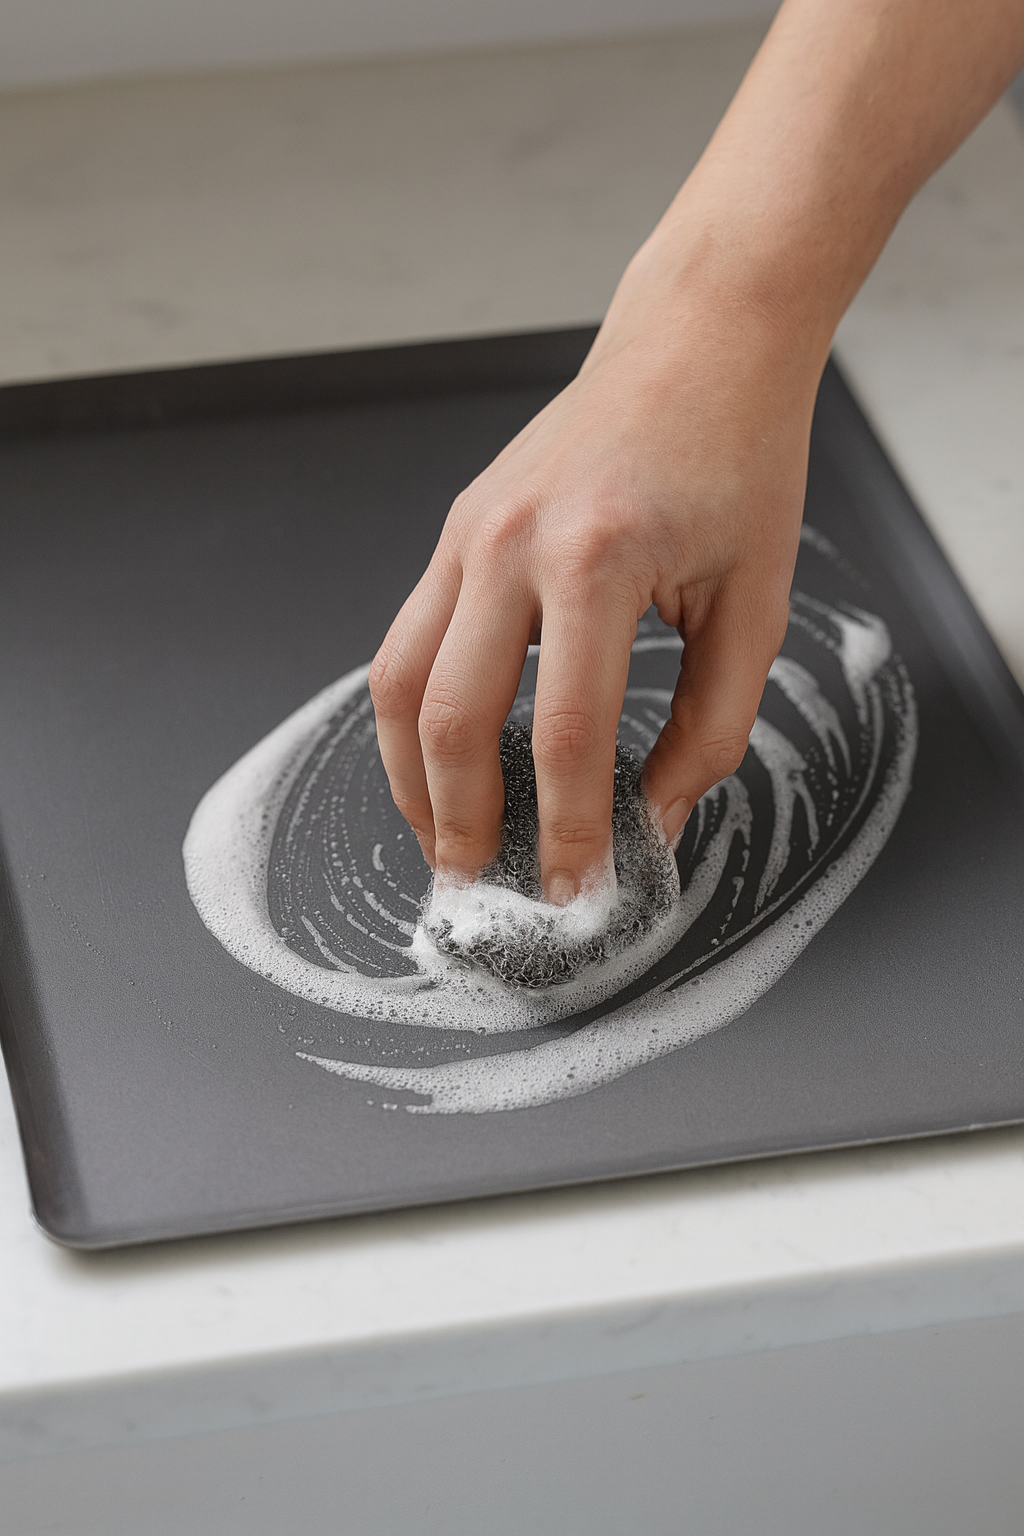
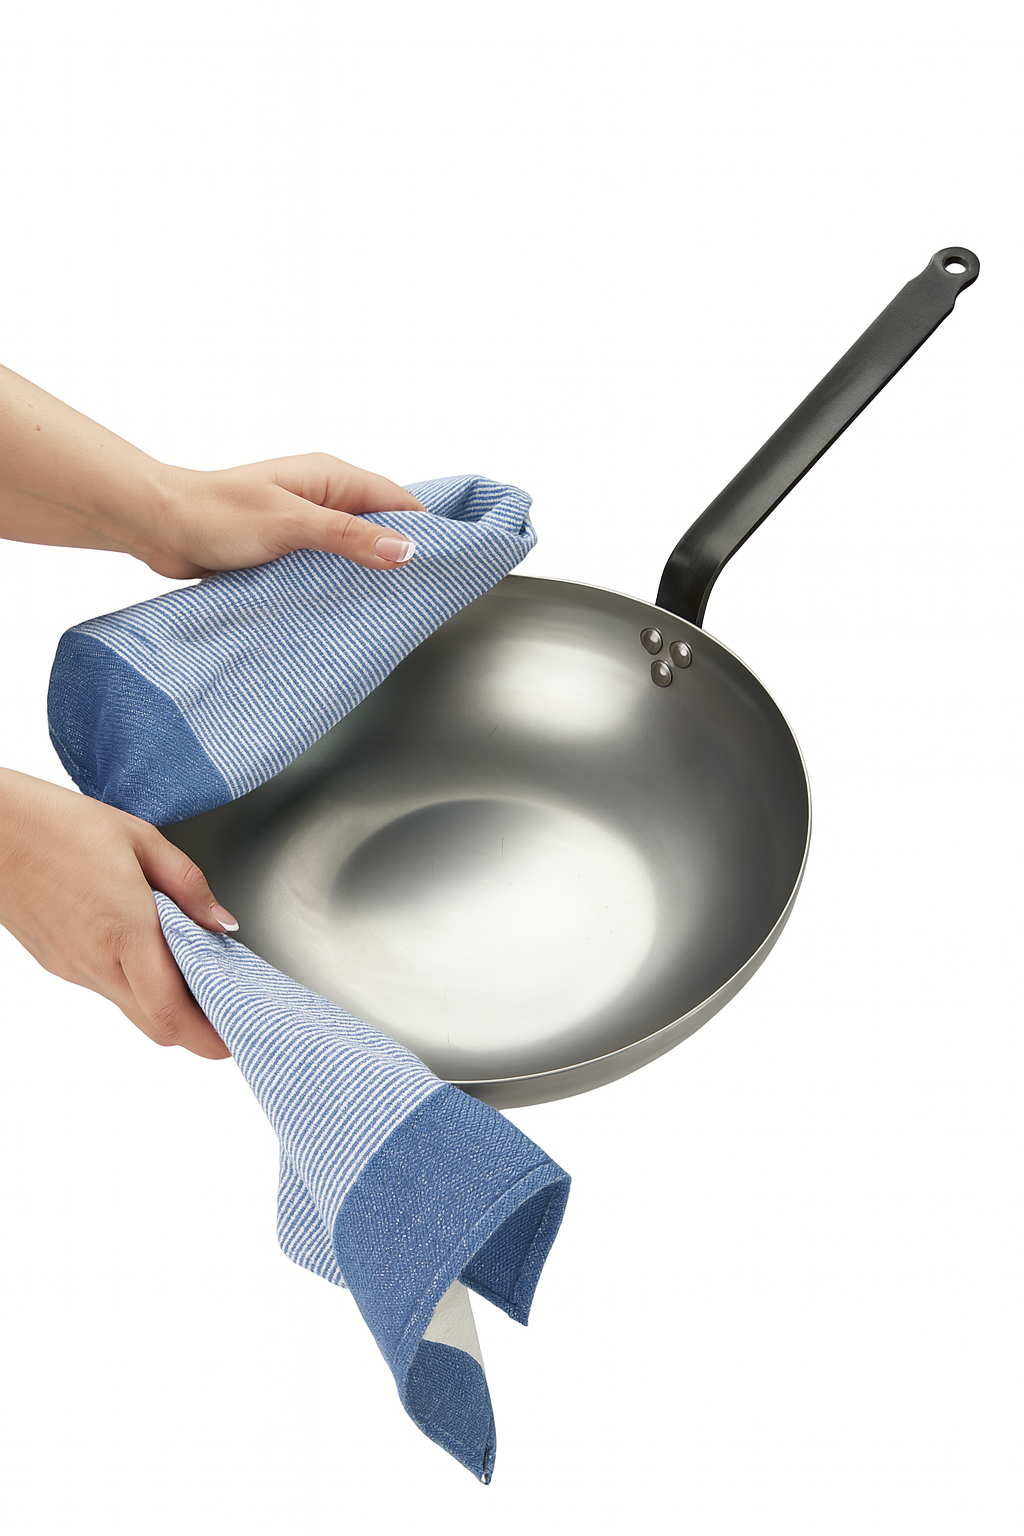
Step 1: Start with a Clean Pan
Begin with a clean, dry carbon steel pan. In the video, I’m using our Mineral B PRO Omelette Pan, but the process works for any carbon steel model.
Grab a neutral oil with a high smoke point — I prefer grapeseed oil because it consistently gives me the best results. You’ll only need a small amount, about a teaspoon or less.
Dip a paper towel into the oil and wipe the entire surface of the pan, inside and out. Think of it as polishing your pan, not coating it in oil. You want a thin, even sheen, not puddles.

Step 2: Heat the Pan
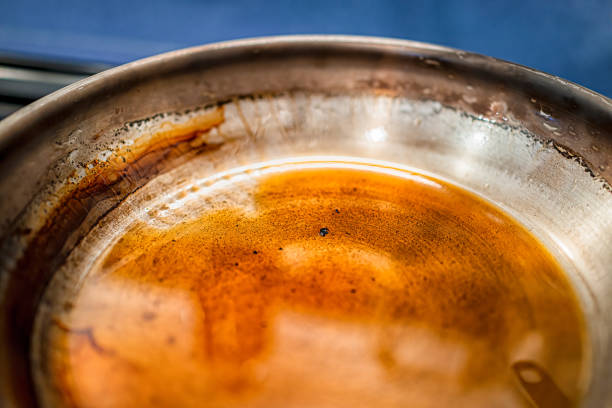
Set your burner to medium-high heat. As the pan heats, that thin layer of oil begins to break down and bond with the steel — a process called polymerization.
During polymerization, the oil’s carbon molecules transform into a hard, protective layer. That’s the foundation of seasoning — a durable coating that strengthens and improves over time.
Step 3: Let the Magic Happen
After about five to seven minutes, the smoking will stop and the surface will take on a soft bronze tint. Congratulations, you’ve just completed your first layer of seasoning.
You could stop here and start cooking — every time you use the pan, the seasoning will continue to build naturally. But I like to go all in.

Step 4: Repeat the Process
Once the pan has cooled completely, repeat the same steps:
A little oil, wipe it thin, heat it up, and let it cool again.
I repeat the process four to five times in one session. Each round deepens the color and strengthens the patina, giving the pan that rich, dark finish that seasoned carbon steel is known for.

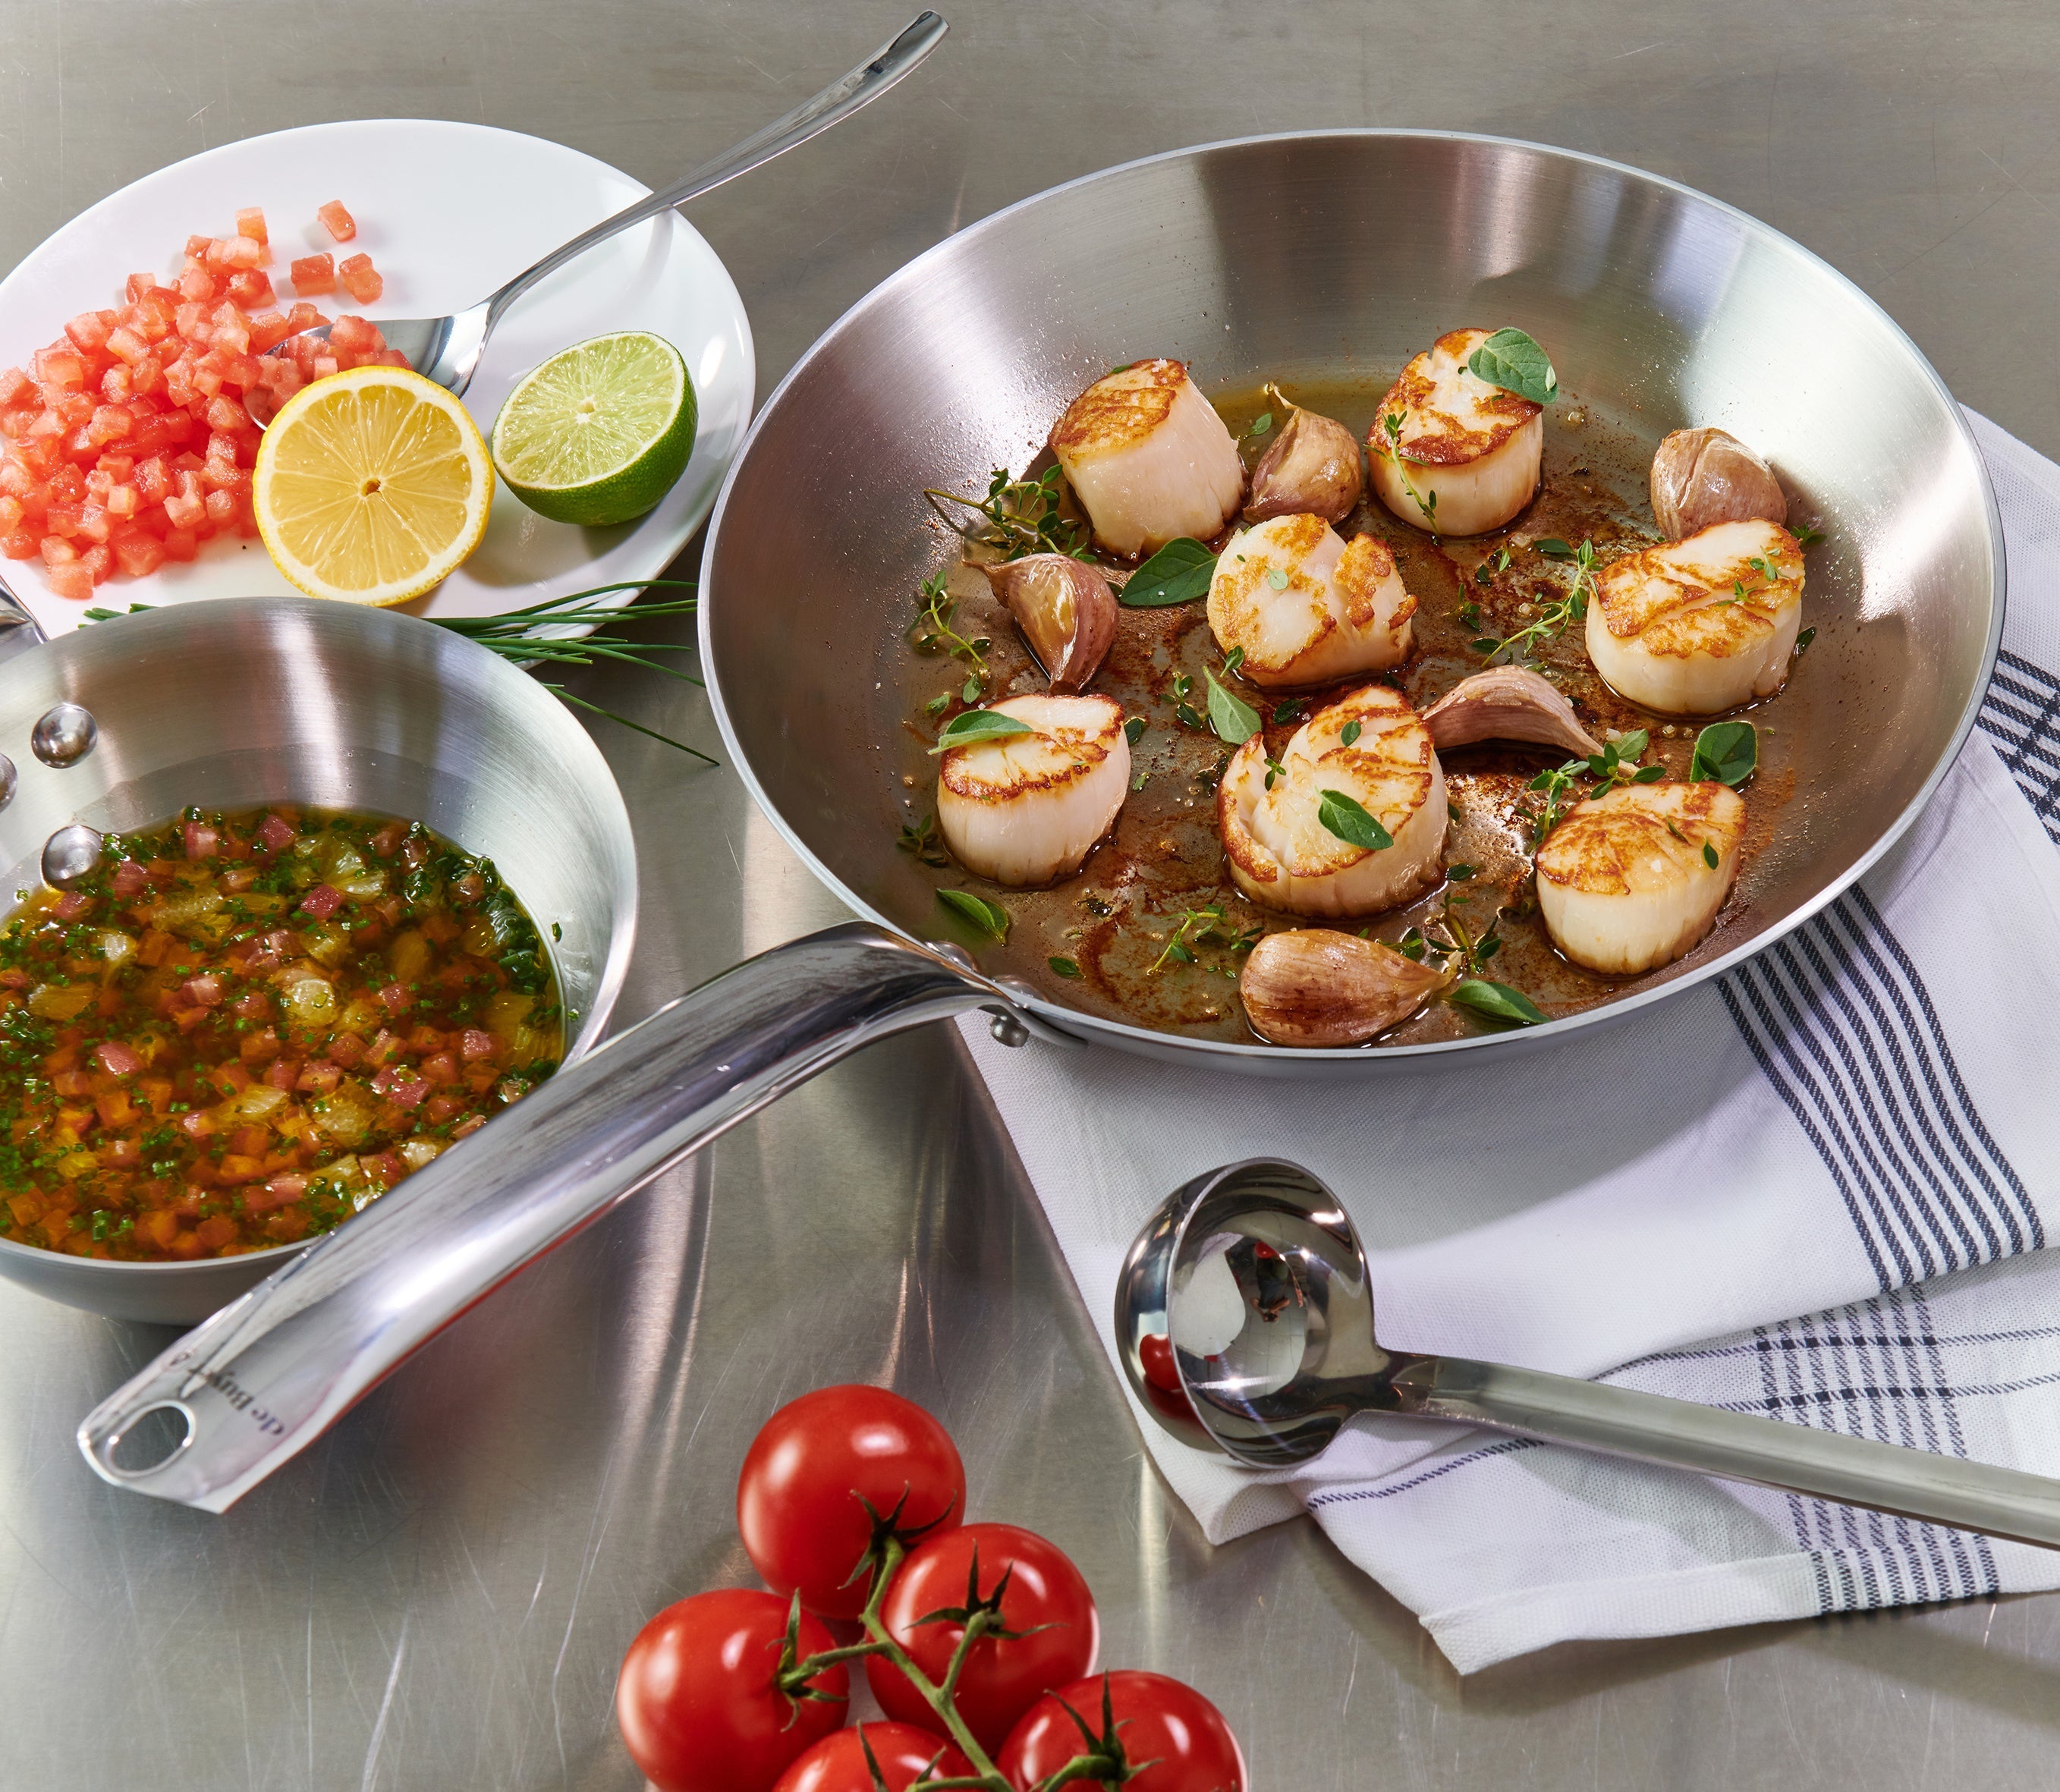
Step 5: The Results
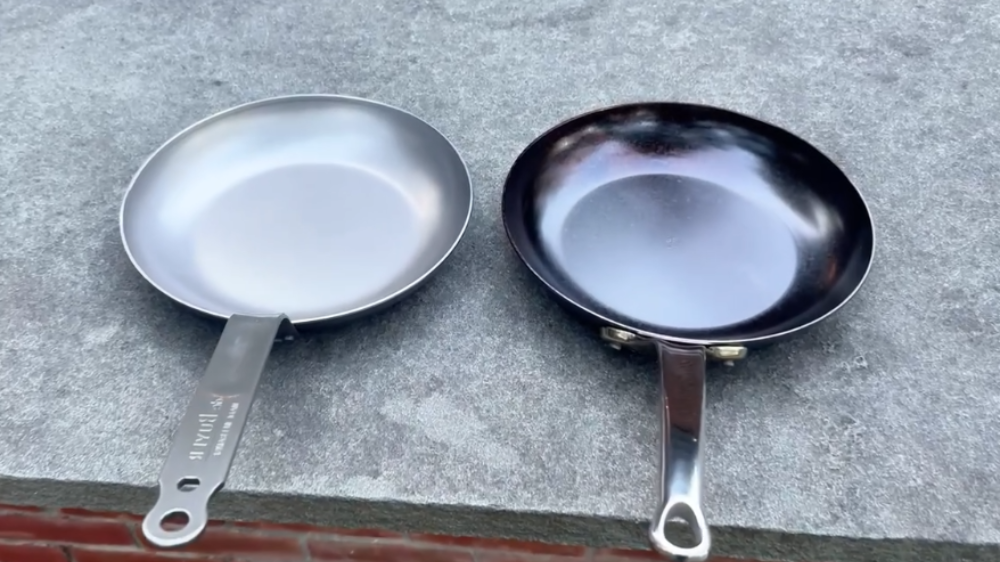
In under an hour, my pan has gone from bright silver steel to a deep, dark patina — smooth, naturally nonstick, and ready for a lifetime of use.
Compare it side by side with a brand-new pan straight out of the box, and the difference is dramatic. That dark, glossy surface isn’t just beautiful — it’s a living, evolving layer of protection that only gets better with every meal.

Final Thoughts
That’s all there is to it. A little oil, a little heat, and a bit of patience — that’s the secret to a perfectly seasoned carbon steel pan.
If you want to see the full transformation, check out the video and follow along. It’s a quick, satisfying process, and the reward is a pan that performs beautifully for decades.
Watch the Full Video Tutorial Here ↓


Recommended for You
-
MINERAL B PRO Carbon Steel Fry Pan
8"
9.5"
11"
12.5"
$110.00 USD - $175.00 USDRegular price $110.00Regular priceUnit price per$0.00Sale price $110.00 -
MINERAL B Classic Carbon Steel Fry Pan
8"
9.5"
10.25"
11"
12.5"
14"
$75.00 USD - $165.00 USDRegular price $75.00Regular priceUnit price per -
MINERAL B PRO Carbon Steel Omelette Pan
9.5"
11"
$130.00 USD - $145.00 USDRegular price $130.00Regular priceUnit price per -
Protective Sleeve for Pan Handle
Default Title
$12.50 USDRegular price $12.50Regular priceUnit price per -
Blue Carbon Steel Fry Pan
8"
9.5"
10.25"
11"
12.5"
$60.00 USD - $95.00 USDRegular price $60.00Regular priceUnit price per -
MINERAL B Carbon Steel Omelette Pan
8"
9.5"
11"
$85.00 USD - $120.00 USDRegular price $85.00Regular priceUnit price per -
MINERAL B Carbon Steel Crepe & Tortilla Pan
9.5"
10.25"
12"
$75.00 USD - $100.00 USDRegular price $75.00Regular priceUnit price per -
Blue Carbon Steel Crepe & Tortilla Pan
7"
8"
9.5"
$30.00 USD - $50.00 USDRegular price $30.00Regular priceUnit price per -
MINERAL B Carbon Steel Egg & Pancake Pan
4.75"
5.5"
$50.00 USD - $60.00 USDRegular price $50.00Regular priceUnit price per -
MINERAL B Carbon Steel Country Fry Pan
9.5"
11"
12.5"
$125.00 USD - $185.00 USDRegular price $125.00Regular priceUnit price per -
B BOIS Crepe Spatula
Default Title
$10.00 USDRegular price $10.00Regular priceUnit price per -
 Sold out
Blue Carbon Steel Baking Sheet
15.75" X 11.8"
23.6" X 15.75"
$45.00 USD - $55.00 USDRegular price $45.00Regular priceUnit price per


